Standalone build — Make the build in Unity
Install Unity and import project
This is a Unity Project that built with Unity Editor Unity 2020.1.10, thus, it requires a Unity Editor installed. An earlier version might also work, but you have to downgrade the project and might loss some Unity features, or maybe not.
Prerequisites
-
To run Unity Hub, make the downloaded file executable first: chmod +x UnityHub.AppImage
Install Unity Editor (>= Unity 2020.1.10) via the Unity Hub.
Launch Unity Hub
Find Installs
Click add and select a version of unity
Click NEXT
Select Linux Build Support if you are using the Hub in a Windows or MacOS => DONE.
Get the project
# Clone the unity project to the local computer
git clone git@github.com:uzh-rpg/rpg_flightmare_unity.git
Introduction to Unity
If you’re not familiar with the basics of Unity yet, then check out the Unity Tutorials.
Building Linux Standalone
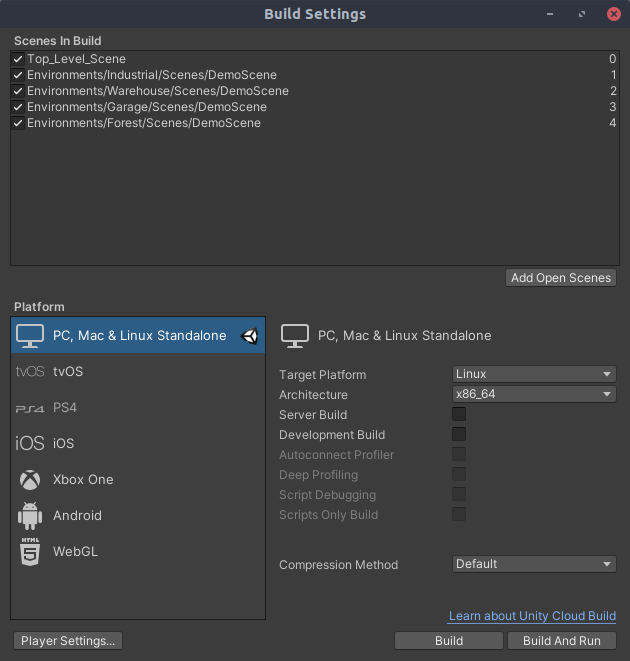
Compiling the Unity application to Linux (or Windows/MacOS) standalone is straightforward. On your Unity Editor, click File -> Build Settings -> Build. But please make sure the following settings in case of unexpected errors:
Target platform = Linux/Windows/MacOS
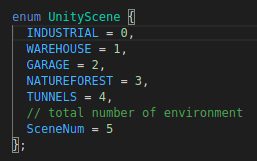
Scenes in Build = {Top_Level_Scene - 0, Warehouse/Scenes/DemoScene - 1}
Fullscreen Mode = Windowed
Color Space = Linear
Note
Ignore the HDRP warning (Build time will be extremely long) when clicking Build button, it will take a while (not more than 2 minutes) for building the application for the first time, and become fast (around 10 seconds) after the first build.
Editing Unity Project
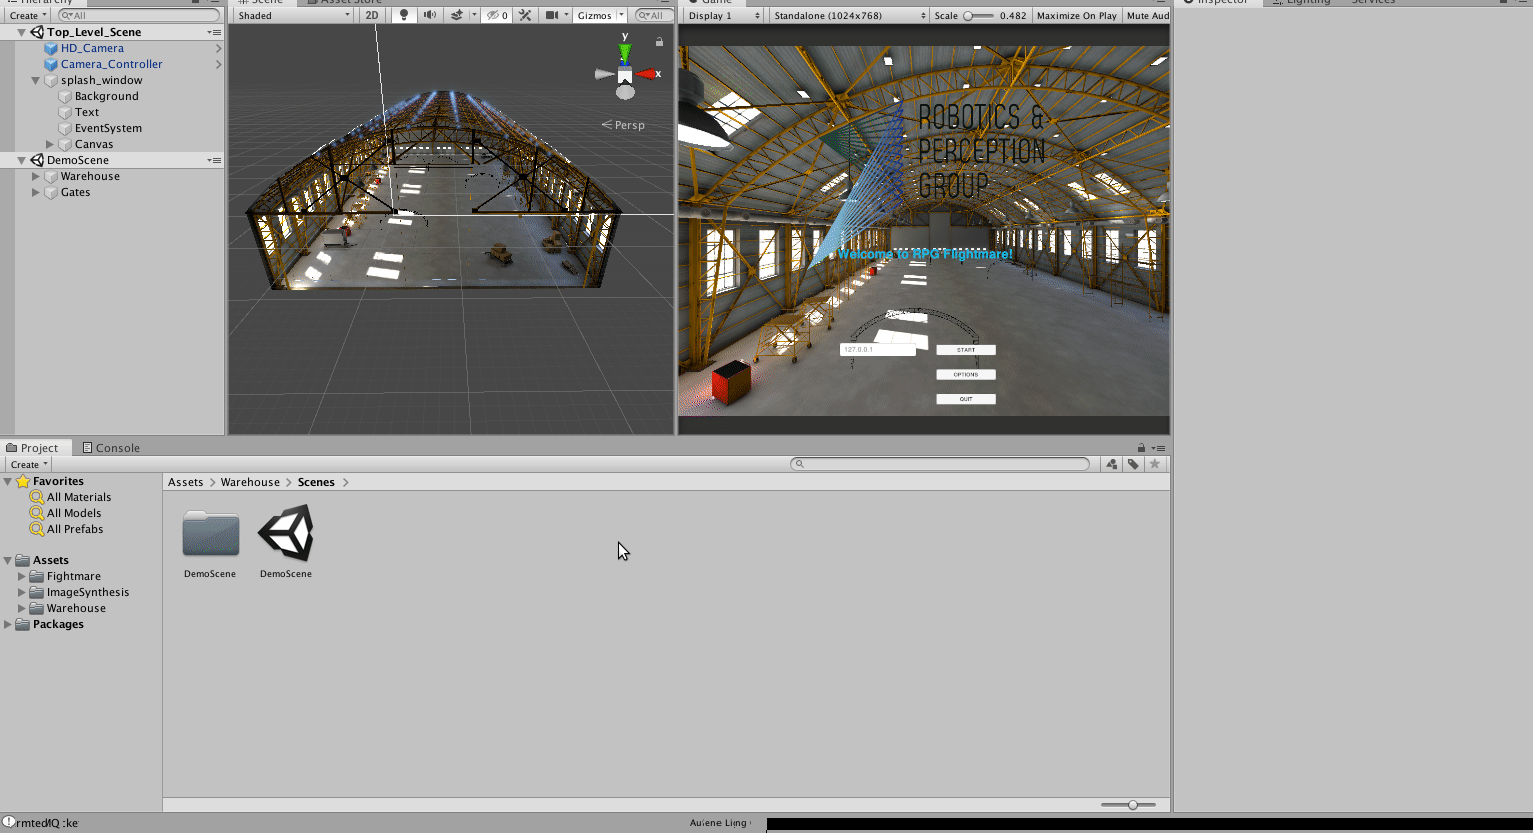
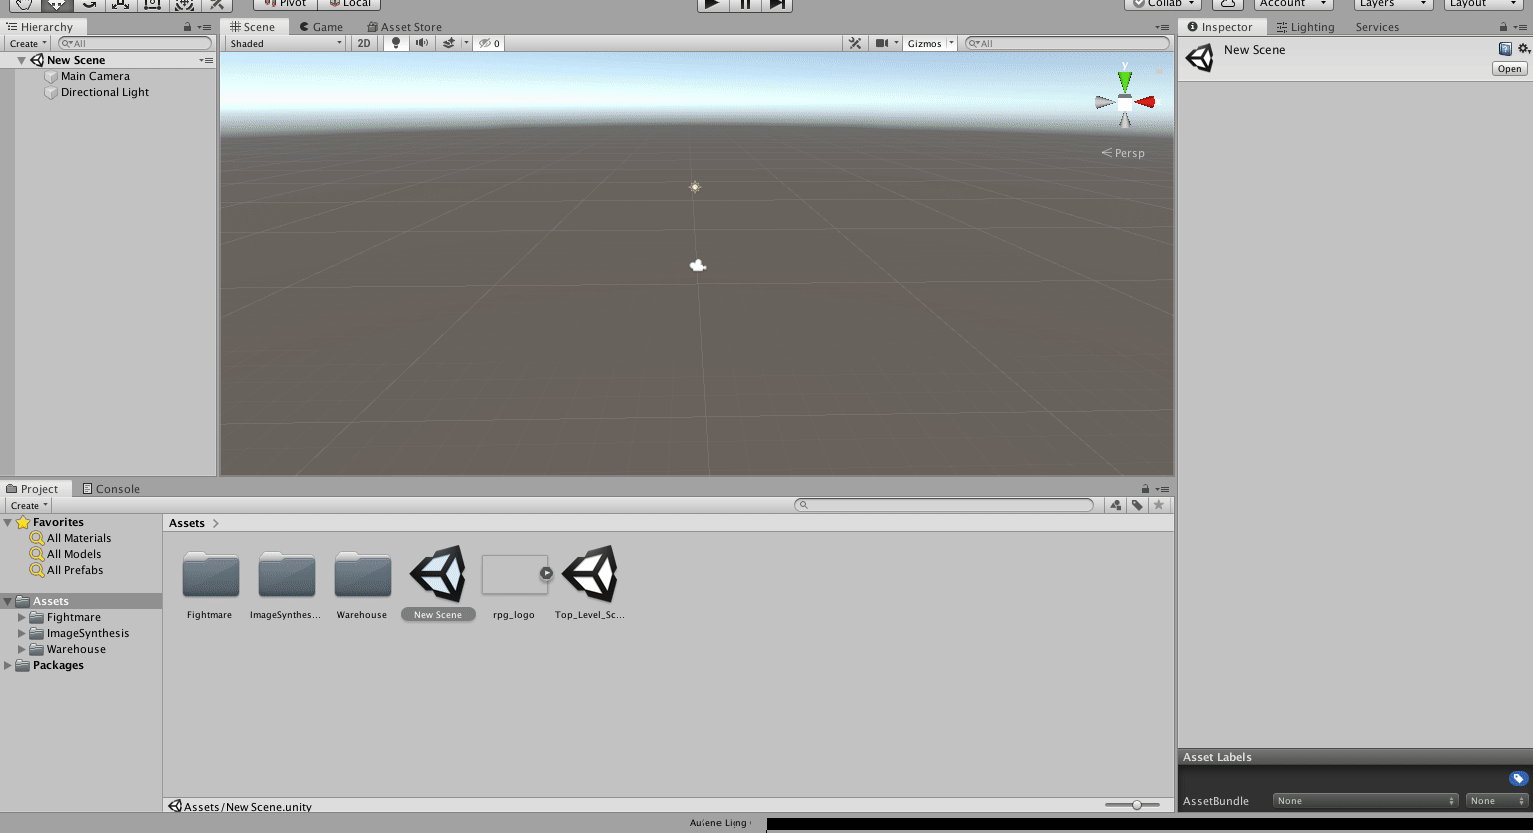
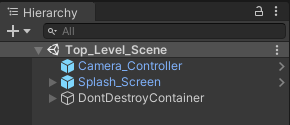
The first time you load the project, Unity will create an empty scene which we don’t need, delete it. Load the Top_Level_Scene that has three basic GameObjects,
HD_Camera: the main camera that renders images
Camera_Controller: the main controller for loading different scenes, moving the camera, and retrieving camera pose & publishing images.
splash_window: the UI interface.
Afterward, load a warehouse scene for demo. Move the Game window to the right so you can visualize both the 3D model on the left and the camera view on the right. Click Play to build and run the program. The application creates two TCP sockets, one for publishing images and one for subscribing camera pose. Clicking the Start button will start the program, but since we don’t have a client running and sending messages to the server, you won’t see any changes.
Adding objects to scene during runtime
On the Unity side, add a prefab of your object in the folder Assets/Resources/<prefab_id>.
On the ROS side inherit from static_object in flightlib/objects. For references check out static_gate.
Add a scene to the standalone
Follow the step-by-step instructions to properly add your scene to Flightmare.
Create or add a new scene
First, you need a new scene. You can add your scenes or scenes from the asset store.
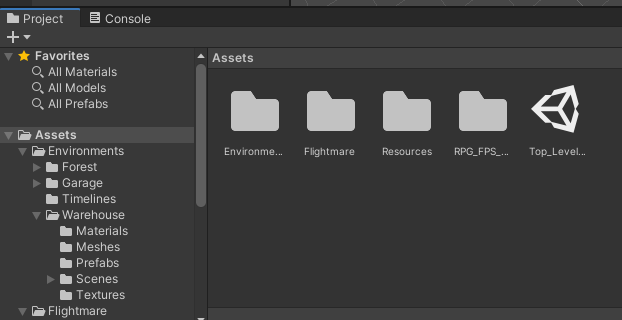
Move the scene into the folder Environments
To have a consistent project structure, we move all scenes into the environment folder. The structure then is Environments/<Project Name>/. Within this folder, we have usually a scenes folder Environments/<Project_Name>/Scenes/<Scene> with all scenes. Everything else is project-depended.
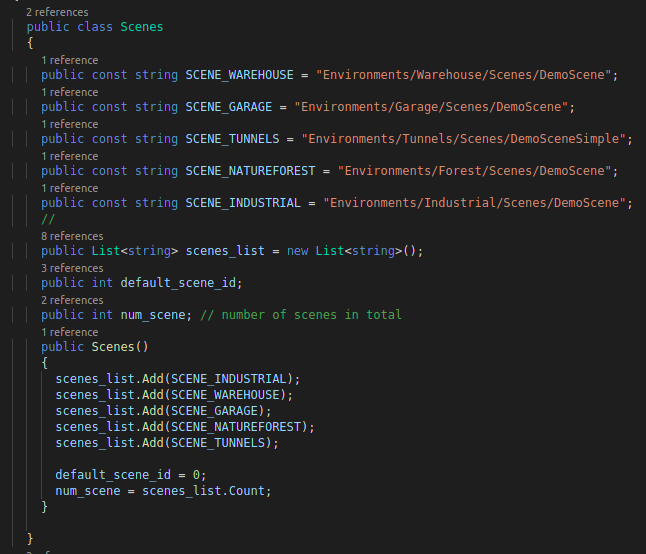
Add the scene to the sceneSchedule
Next, we add the scene to the sceneSchedule. We have to add the path to the scene to the scenes_list. (Optional) For the UI we need to add the function load<Scene>() which will be added later to the button.
Add the scene to build settings
The scene also needs to be added to the build settings. Either add the currently open scene or drag and drop the scene into the build settings. The index of the scene is important.
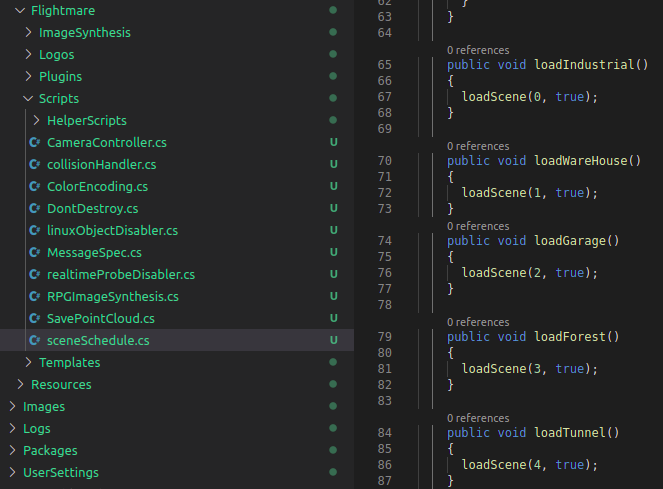
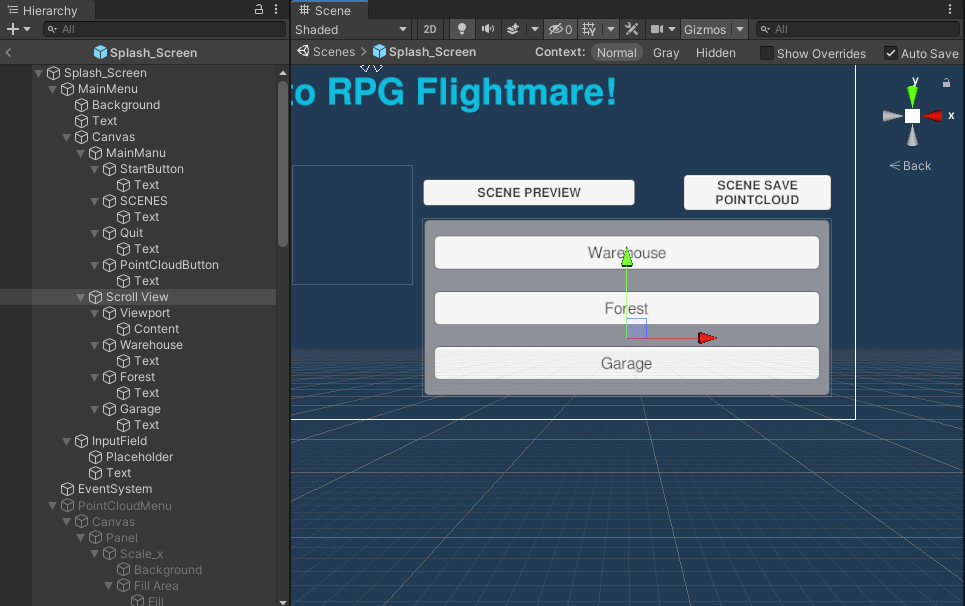
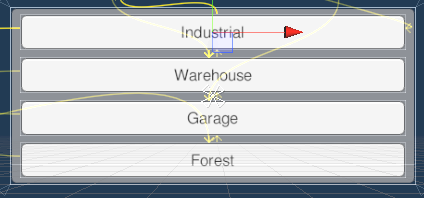
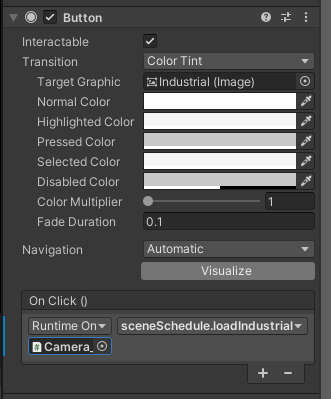
(Optional) Add button on the start menu for your scene
Optionally, we modify the splash screen by adding a button in the UI. We add the Load<Scene>() to the OnClick() function of the button.
(Optional) Add a timeline for preview animation
Optionally, we add a timeline to the scene. All timelines are saved in the Environments/timelines folder. For the timeline, the following steps need to be done:
Add an HDCamera to the scene from Flightmare/Templates/Camera/HDCamera.prefab
Record an animation for the camera
Add an empty GameObject to the scene and add the timeline to it
Add an animator to the HDCamera and select the camera by the GameObject with the timeline.
Add the scene to flightlib
To be able to launch the scene from the C++ client, you will need to add the scene to flightlib in the flightlib/include/flightlib/bridges/unity_message_types.hpp.